Selling with Bar Tabs
For Bar Tabs to work, you’d need to have either Tyro or Blackline.
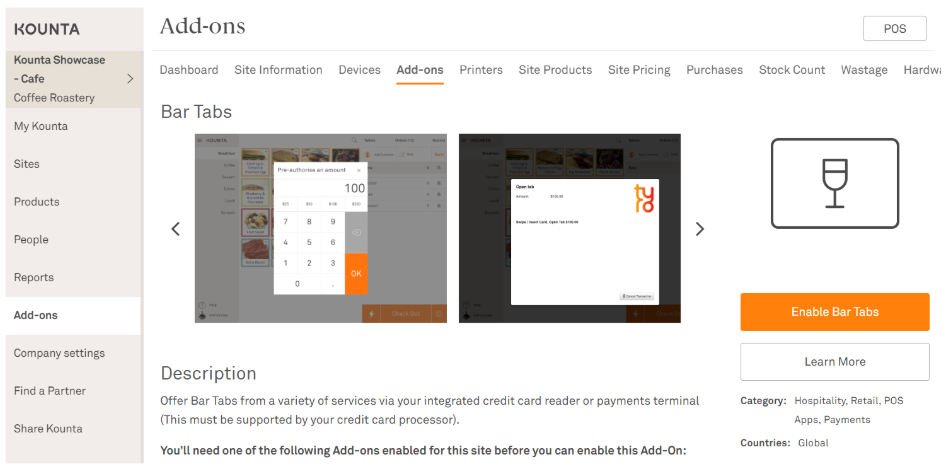
Enable the Bar Tabs add-on
1. From the Add-ons Page in Kounta Back Office, find the Bar Tabs add-on

2. Enable this Add-on by clicking on the orange Enable Bar Tabs button
Start a bar tab
1. On your POS, select the menu icon on the top left corner
2. Select Add-ons
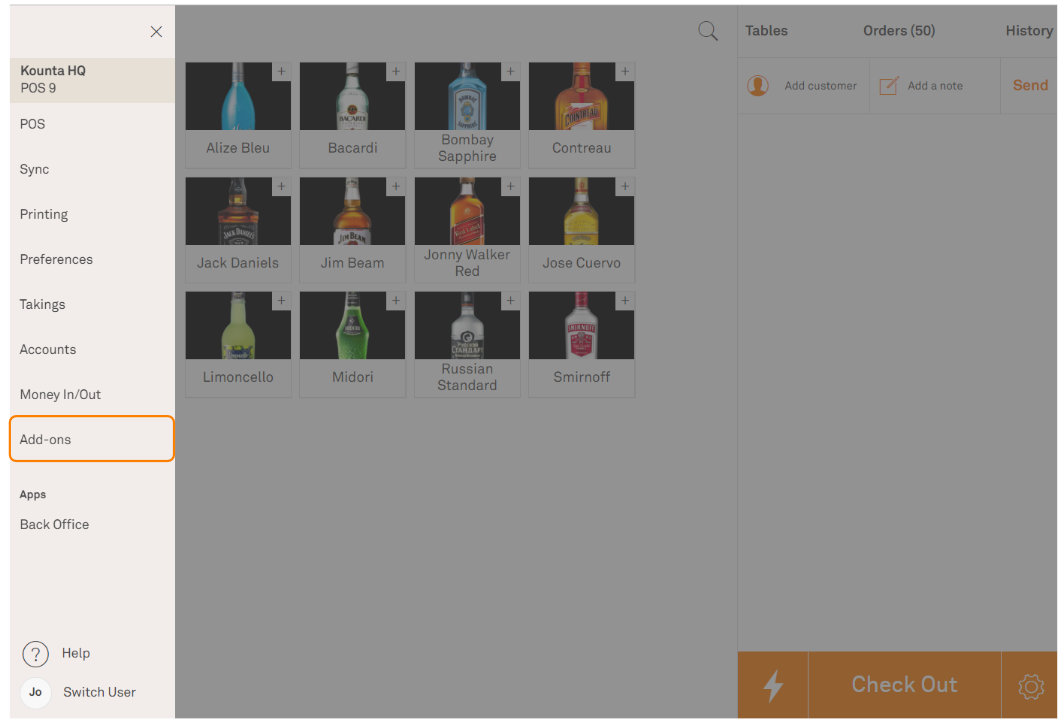
3. Select Bar Tabs
4. Select or enter the amount to Pre-Auth for the Bar Tab
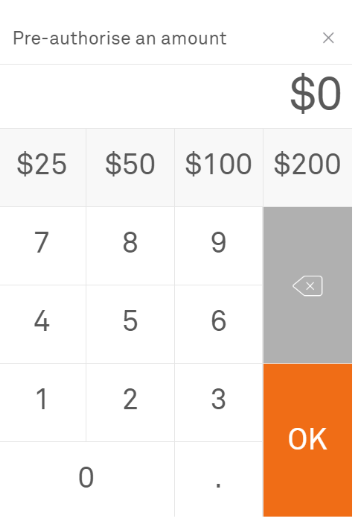
5. Select OK
This will update your terminal (Tyro or Blackline) and Point of Sale - both prompting for payment
This will update your terminal (Tyro or Blackline) and Point of Sale - both prompting for payment
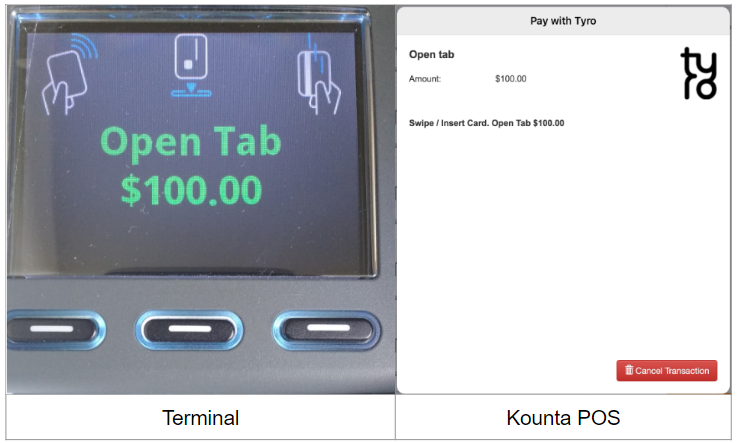
6. Swipe/tap the card. When the Pre-Auth is successful, you will see this:

Pay the bar tab
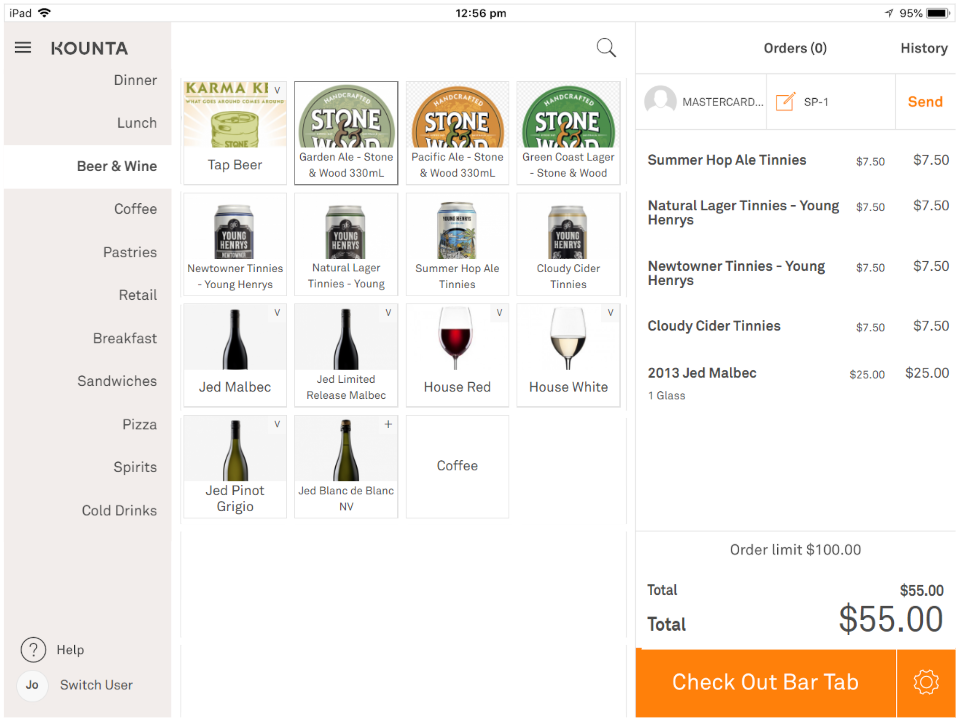
Now that the bar tab order is created - the card type and the last four digits of the card are shown.
1. You can add items as normal - you will see the total below. You can also hold orders as per normal.
2. At the end of the night or whenever the customer is ready to close the bar tab, select Check Out Bar Tab
3. A dialog box will appear. Select Confirm Checkout
Selecting Pay another way will give you the chance to choose a different payment method for the order.
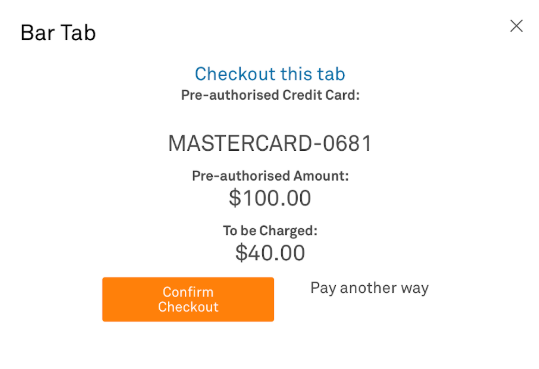
After checking out, the tab will be closed and any unused portion will be released to the cardholder.
Note - The standard clearing time for Pre-Auths is seven days. So you’ll want to make sure that you close off your bar tabs regularly so that you can make sure you’re getting paid.
Related Articles
Selling with Account Sales
Enable Accounts Add-On 1. From the Add-ons Page in Kounta back office, find the Accounts add-on 2. Enable this Add-on by selecting the orange Enable Accounts button Place an order on Account 1. From the POS - Place your order as normal 2. ...How to Filter Orders by Printer Location on KDS
When a Kitchen Display Screen (KDS) is first connected to the Master POS, it will, by default, display orders from all printer locations. If your KDS is placed in a specific area (for example, the Bar) and you only want it to display items for that ...Adding your inventory items to Kounta
Before you begin Make sure that you have enabled any Produce plan first to be able to see and edit your products inventory settings. Add stock items You add stock items the same way as adding normal products into Lightspeed Kounta. But here’s ...Adjust the Order of Categories on Printing Dockets
You can control the order that item categories appear on your production dockets. This is useful to ensure your kitchen or bar receives dockets in a logical flow (for example: food first, then drinks, or by station). How to Set the Category Print ...Setting Up Portions in Abacus POS
Use this feature to set up portions in Abacus POS to help manage stock levels and portion-based selling. By setting portions for products on your Master POS, you will be able to track how much of that product is left as you sell it. When the last ...