Setting Up Tables
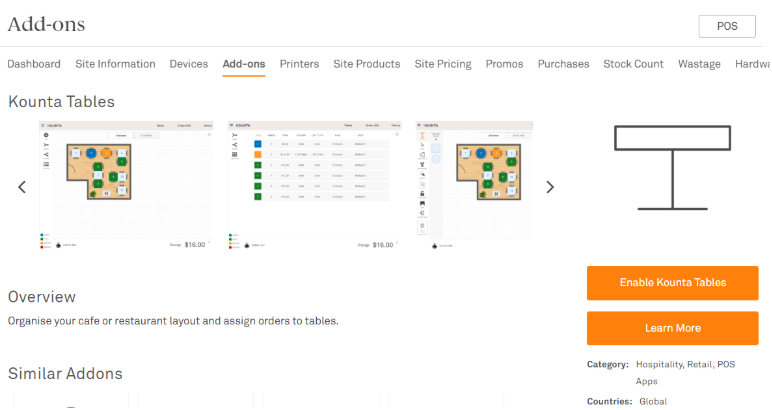
Enable Tables Add-On
1. From the Add-ons Page in Kounta back office, find the Tables add-on
2. Enable this Add-on by clicking on the orange Enable Tables button

Customise Tables layout
You will find powerful and easy to use editing tools to help you create your layout.
1. From your Point of Sale, select Tables
2. You will find a default layout. Select Edit
3. A dialogue box will prompt you that you’re about to enter editing mode. Select OK
4. These are the basic tools in editing mode. Here are a few notes:
Here is a cheat sheet of common tasks and how to do them:
Change table shape - You can simply trash the current table and replace it with another table that has the desired shape. Choose from either a circle, or square/rectangle.
Change the table number - Simply select the table. You will see a dialogue box where you can change the table number.
Add flooring - Drag the desired floor design on the canvas. You can then resize the floor tile. Even if you drag it over other items, it will automatically be underneath other items.
Resize a table or other items - you can resize tables, structures, and floor designs. Simply hover over the side of the item and when the resize cursor appears, drag into the desired size
Turn a chair around - You can choose from four chair orientations from the menu; but once a chair is on the canvas, you can adjust it to face other directions - simply click the chair (this will make it turn in a counterclockwise direction.)
Hide a section or change section names - Select the cog icon. Change the name by entering the new name on the name field. To hide a section, toggle it to No
Related Articles
Table Service with Kounta
Take an Order 1. Select the table that you are seating your guests at And, if prompted, enter the number of covers 2. This will open up the sales screen where you can start entering in their order The table number and number of guests will be ...Setting up Production Printing (aka Kitchen Printing)
Before you begin Naturally, before we set up production printing you will need to have set up your printers or set up your Bump Screen. Note: Bump Screens are the digitized version of kitchen printing. When you enable the Bump Screen addon it ...Setting up an Epson m30 Bluetooth Printer with Kounta
Before you begin Note - You’ll need to make sure that you have the Bluetooth version of the TM-M30 as there are some models of this printer that are not Bluetooth and they look nearly identical. You can confirm that your printer is Bluetooth-capable ...Setting Up Portions in Abacus POS
Use this feature to set up portions in Abacus POS to help manage stock levels and portion-based selling. By setting portions for products on your Master POS, you will be able to track how much of that product is left as you sell it. When the last ...Setting Up Holiday Closures in Bite Online Ordering
If you would like to set up holiday closures in Bite Online Ordering (for example, during the Christmas period), you can do this directly from the Bite Back Office by following the steps below. Add a Holiday Closure Log in to your Bite Back Office ...