Stocktaking with Lightspeed
What gets measured gets managed. Effective stocktaking will give you visibility on where your purchased goods go - how many are used, lost, stolen or wasted.
Enable the Stock Counts feature
1. Select Features in Back Office
2. Choose Stock Counts, then select Enable
Perform stock count
1. From the Sites page, select the Stock Count tab. (If you have multiple sites, you will first need to select a Site)

2. Select New Stock Count

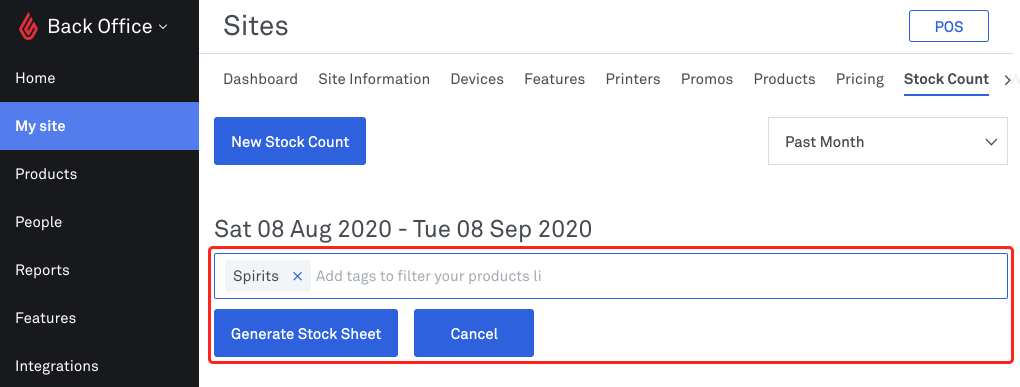
3. Search your products by tags and select Generate Stock Sheet
Pro Tip - Our hospo pros recommend using product tags to easily filter your stock counts.
You can tag by stock location, supplier or, high-cost items to make it easier to keep a close eye on your important stock levels.

4. All the products will be generated on a sheet along with their cost price and current (projected) quantity
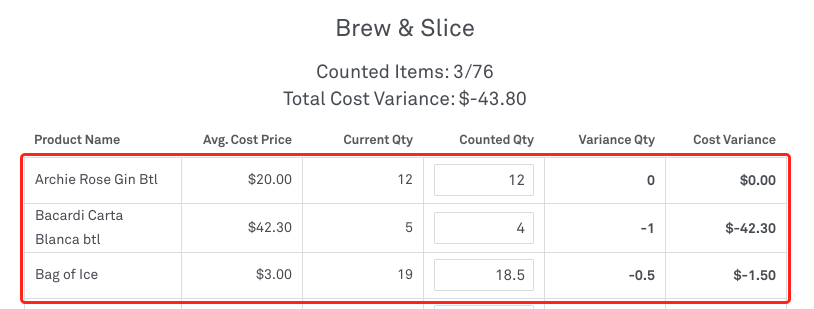
Enter the numbers from inventory check under Counted Qty
Fields in the Stock Count and what they mean:
- Filter Products: Easily search & filter by tags
- Avg Cost Price: Live price from your purchase history or your fixed cost price
- Current Qty: Expected stock level based on your sales, received orders and wastage
- Counted Qty: How much you have just counted during your stocktake
- Variance Qty: This is the discrepancy between Current Qty and Counted Qty. You’ll want to confirm these numbers are correct. Confirming the accuracy of counts can help minimise shrinkage, loss, and theft.
- Cost Variance: A positive or negative value here points to a number of problems mainly inaccurate counts or missing stock.
5. Select Save
6. You will see this dialogue box. Select Yes
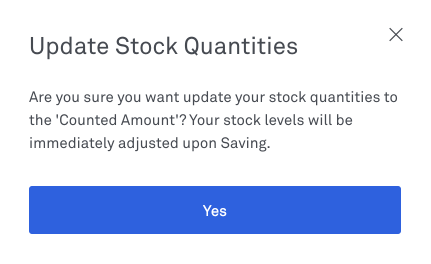
7. Once saved, these logs can no longer be edited. They can be corrected though by recounting them and logging the results again.
Import stock levels with .CSV
Stock count data can also be updated via CSV.
1. From the Stock Count page under Sites, select New Stock Count

2. Filter using relevant tags and select Generate Stock Sheet

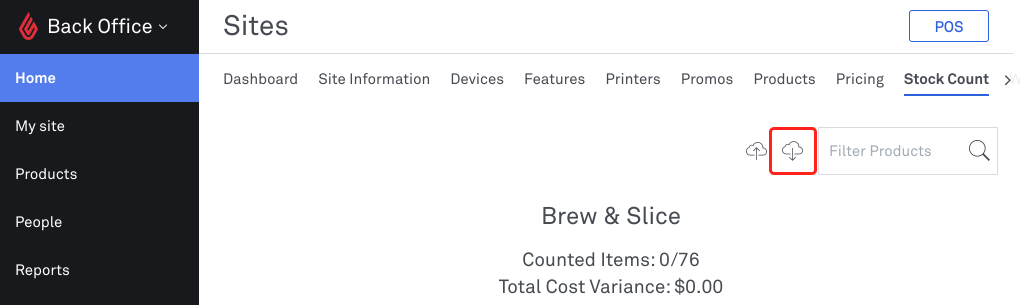
3. Select the cloud icon with the downward arrow. This will download the CSV
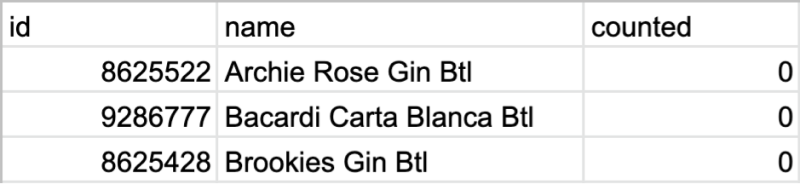
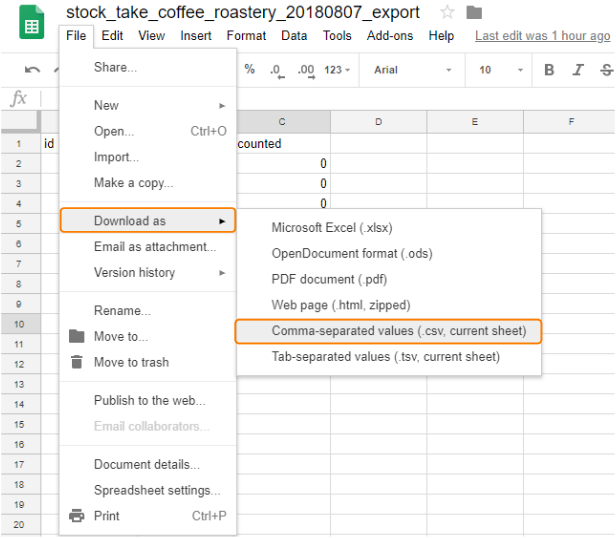
4. Open the CSV using Excel, Numbers, or Google Sheets
5. Enter your stock count under the counted column.
6. Save your file as a CSV. This can be found under Save As or Download As depending on which software you use.
7. Once the file is saved in CSV format, you can upload it to Kounta. From the Stock Count page under Sites, select New Stock Count

8. Filter using relevant tags (the same ones you used before downloading the CSV) and select Generate Stock Sheet
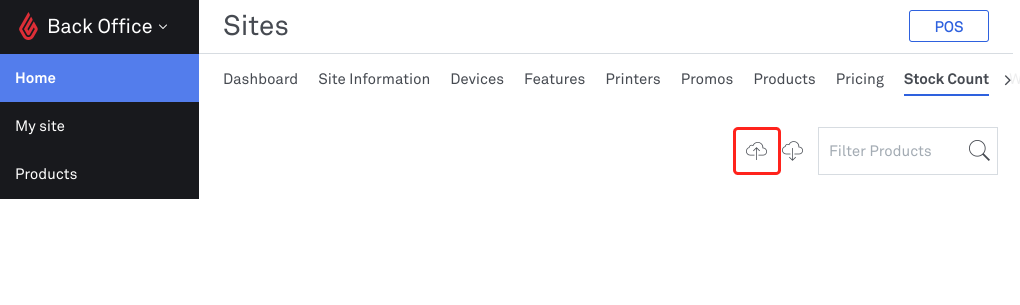
9. Select the cloud icon with the upward arrow. This will upload your CSV.
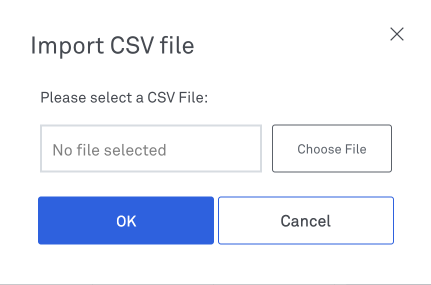
10. You will see this dialogue box. Enter the filename here to upload and select OK
This will update with another stock count log.
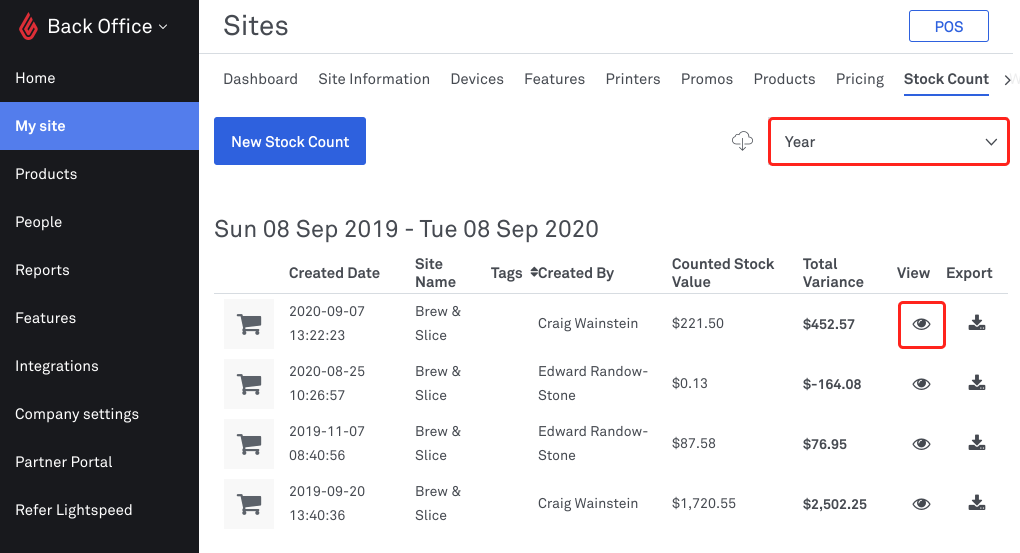
Review past stock counts
View all stock counts
1. From the Sites page in Back Office, select Stock Count. (If you have multiple sites, you will first need to select a Site)
2. Select the timeframe for the stock counts you want to review. Use the eye icon at the side to view the stock count
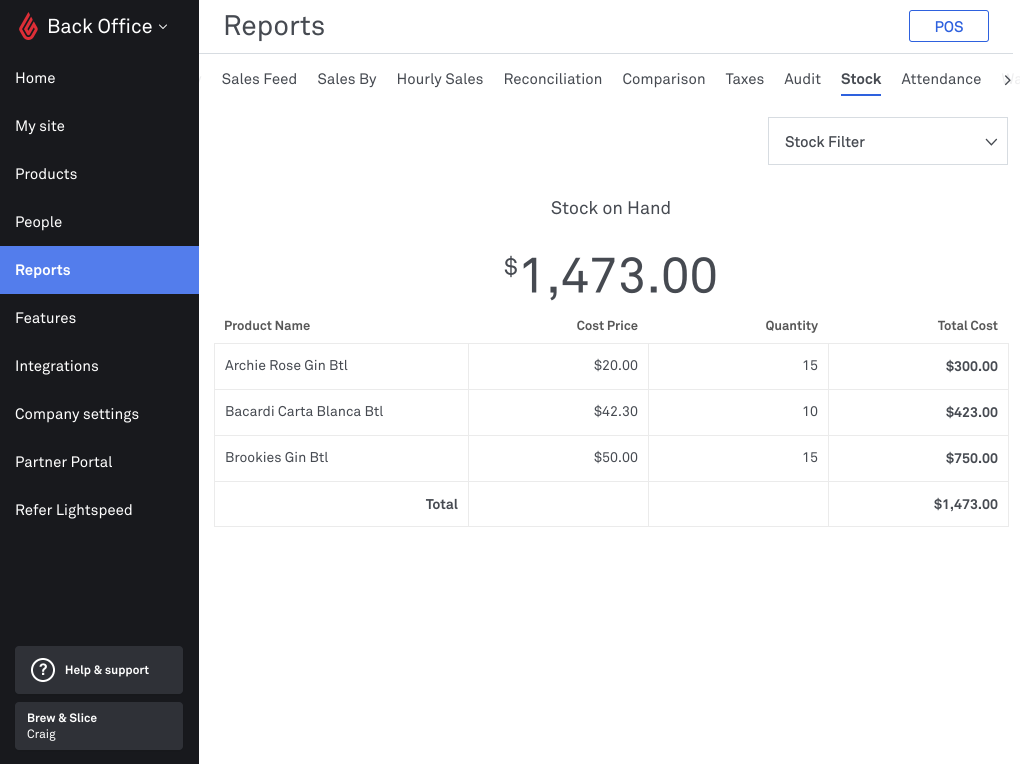
See stock level report
The Stock Levels report is updated by data from Purchases and Wastage - both of which can be viewed in their own separate, more focused reports.
Here is how you can view the Stock Level Report
1. From the Reports page, select the Stock tab. (If you have multiple sites, you will first need to select a Site)
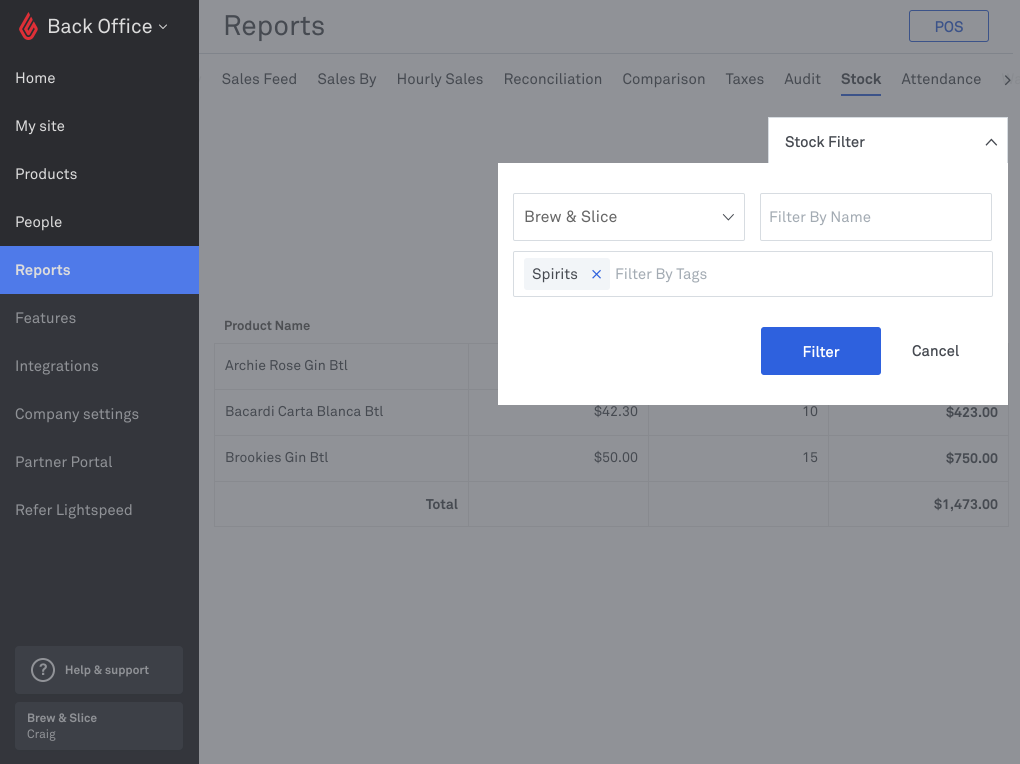
2. You will be able to see how many of the items you have on hand, how much they cost, and the total value of all stock items
Related Articles
Stock transfers: reduce wastage by sharing inventory with other locations
Before you begin You will need: - A Purchase Advanced plan for all participating sites - Your inventory items added from the Back Office - A Produce Advanced Prep plan for the central production facility to transfer products you make Send a stock ...Disabling Online Ordering (Closing Your Online Storefront)
Disabling Online Ordering (Closing Your Online Storefront) This guide will demonstrate how to close your online storefront in Lightspeed Kounta POS. Disabling ordering on POS will apply to Uber Eats, Deliveroo, Door Dash and Boppl. This feature needs ...How to Change User POS PIN in Lightspeed
To change a user PIN in Lightspeed POS, this must be done from the Back Office. Once the PIN is updated, the POS devices need to be synced so the changes can take effect. Steps: 1. Login to the back office 2. Go to People section 3. Tap on settings ...Lightspeed App Printing
Choosing a printer The Lightspeed App printing method allows your iPad or Android Tablet/ Mobile to communicate directly with compatible Epson or Star (iPad App only) ethernet printers. Epson TM-M30 Ethernet TM-T82II Ethernet TM-T82III Ethernet ...Working with Lightspeed Kounta Offline
To cope with the demand for different types of businesses all over the world, Kounta has been built to run online or offline. When offline you still have access to core selling functions and all your sales information is securely stored locally on ...